Installing SQL Server 2012
Before we begin the installation, I would recommend you to go through the Installation documentation for SQL Server 2012 such as Minimum Hardware and Software Requirements and SQL Server 2012 Release Notes.
Once I setup my separate Virtual Machine for SQL Server 2012, I made sure that my Windows Server 2008 R2 had the Service Pack 1 installed. After that I added .Net 3.5 Framework by adding the Role Application Server. You can read how to install .Net 3.5 Framework on a Windows Server R2 in one of my previous blogs.
Once I was done installing those 2 prerequisites, I rebooted my Server to ensure it is ready for the SQL Server 2012 Installation (remember, SQL Server Installation will perform a check and if any of the previous updates needs a system reboot, it will ask you to reboot, so it is always good to restart your machine before you begin the Installation)…
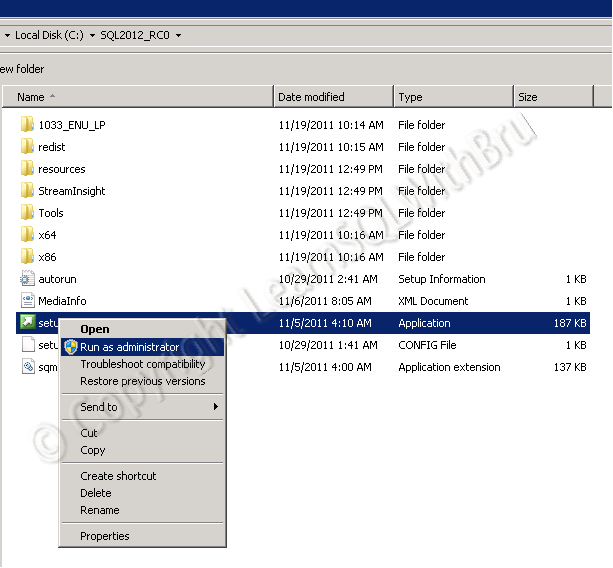
Go to the location where you have copied the SQL Server Installation software and you should find the root directory something like what you see below. Make sure you logged in as a user who has Admin rights on the server. Right click the Setup.exeand choose Run as Administrator. (Though this is not an absolute must, you can also double click the Setup.exe to begin the installation)
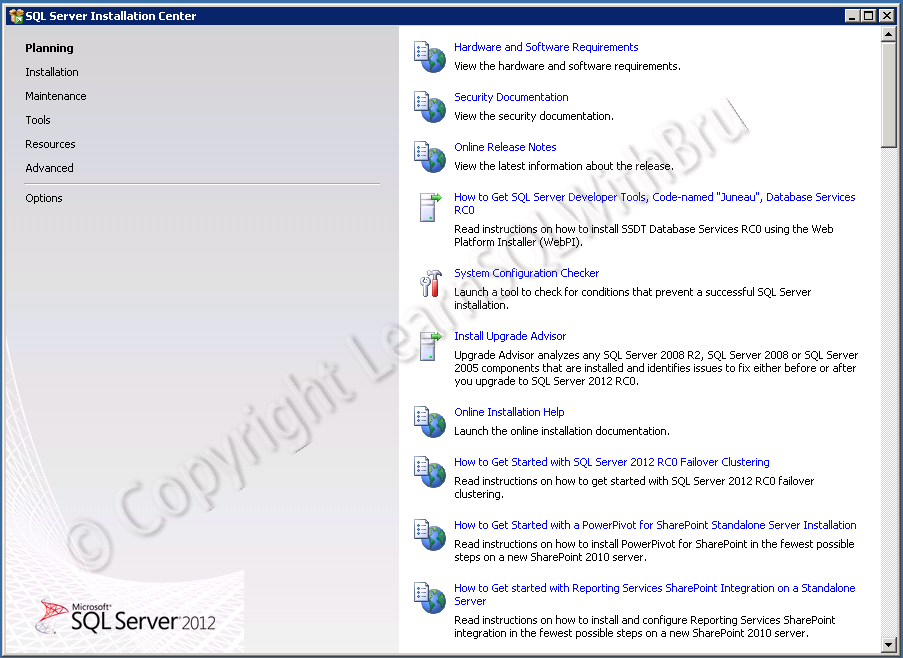
SQL Server Installation Center should open and by default the Planning page is displayed as shown below..
SQL Server Installation Center is designed to be useful when you are performing a new Installation, or modify an existing installation, perform an upgrade and many more tasks related to Installation. We need to click on Installation to display the Installation choices. The Installation page is displayed as below..
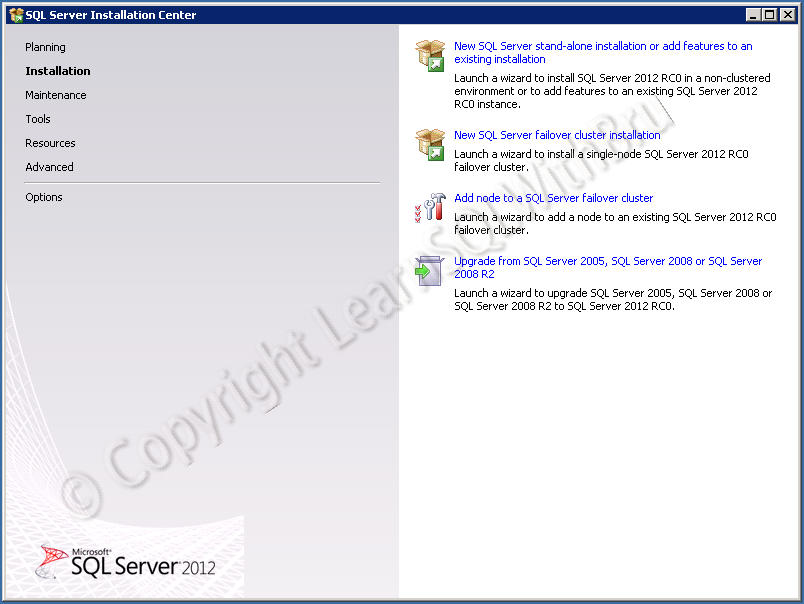 When you are installing SQL Server 2012 on a stand-alone server, we need to choose the very first link by clicking on the text in New SQL Server stand-alone installation or add features to an existing installation.
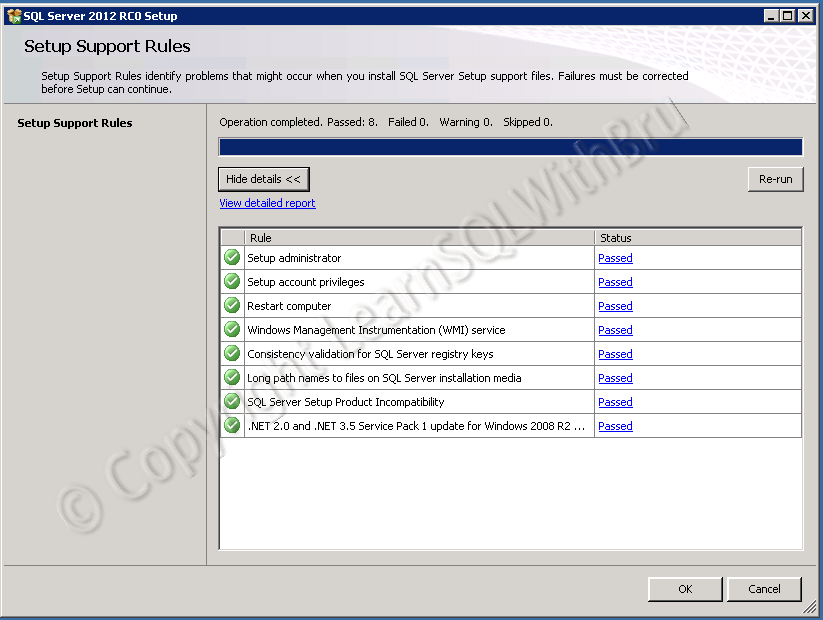
Setup Support Rules is displayed (picture below) which performs a quick check that might cause issues while installation. If there are any failures in the the checklist, those failures need to be corrected (such as a system reboot or user not having admin rights etc). Click OK to proceed.
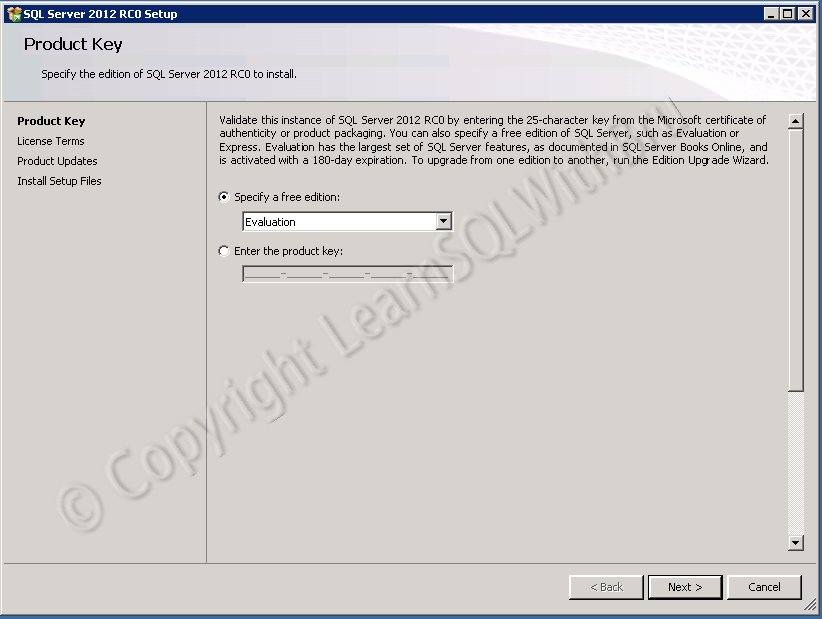
 The next screen is Product Key, in this screen you will have to key in the product key (25 characters long) which came with your Installation media. In this case we are installing an Evaluation Edition, hence that is left blank and we continue clicking Next.
The next screen will display the License Terms and we need to accept the license terms by selecting the check box (as shown in the picture below).
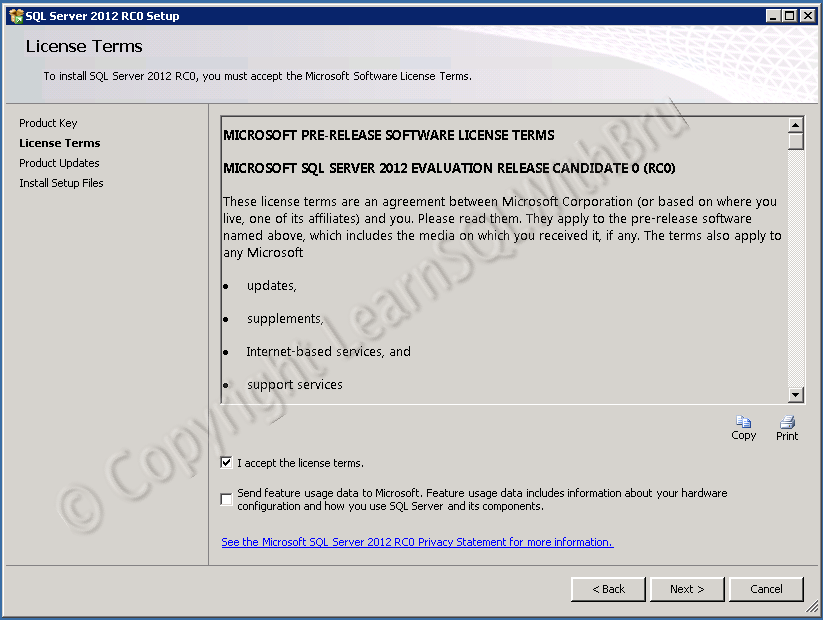 Click Next to proceed. The next screen displayed is an enhancement to SQL Server 2012 installation, “Product Updates“, this step check for any updates available for the SQL Server product we are installing.
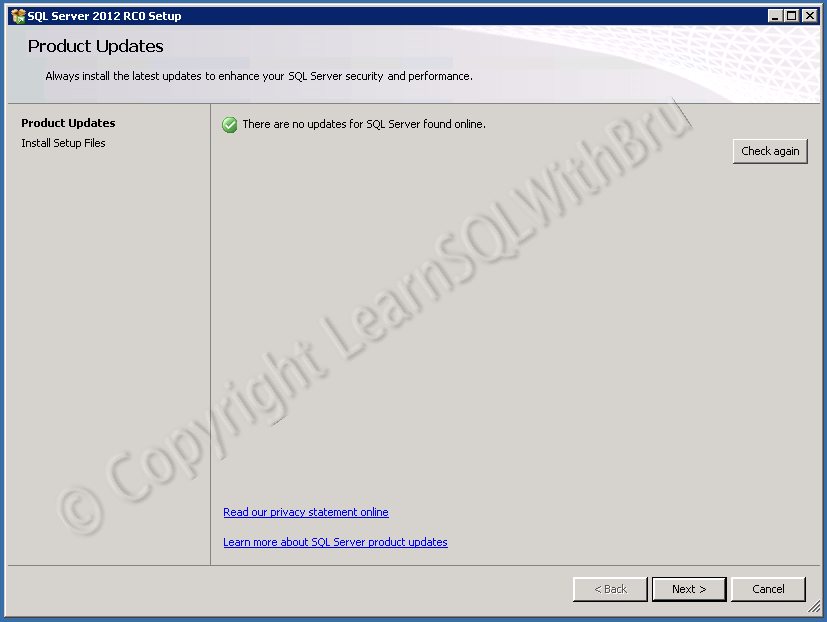 In this case we do not have any updates available, click Next (above pic). The next screen would display download and extract any updates / setup files (in this case they are skipped as there are no updates available) and then Setup files are installed..
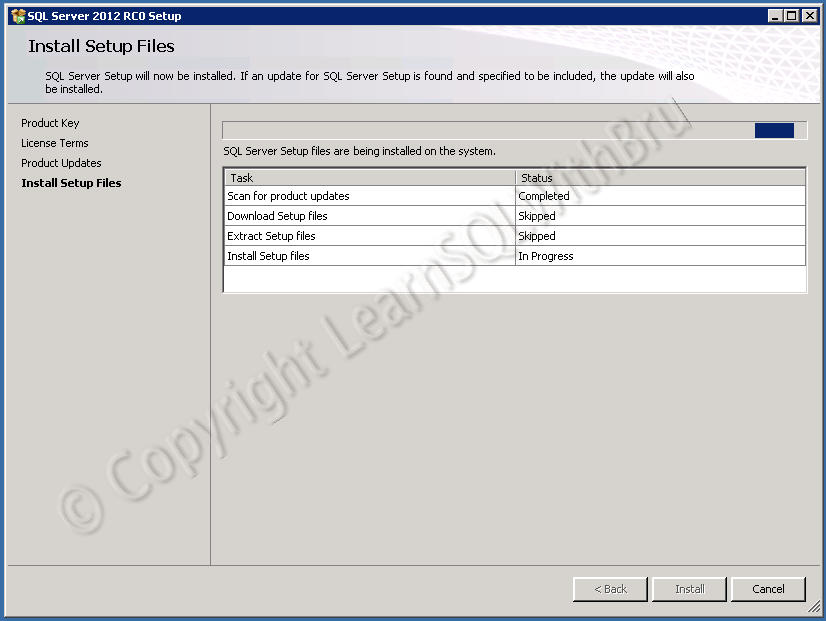 As soon as the Setup files are installed, the windows closes and the next screen is displayed, which is second leg of Setup Support Rules which performs additional checks for smooth Installation (picture below).
 See that there is one warning (Windows Firewall) which will not stop us from installing SQL Server. Click Next to proceed..
The Installation now moves to the next step where we can choose how do we want the SQL Server installation to continue. Select SQL Server Feature Installationoption button, as this would give us more control on what SQL Server components are going to be installed and installation drives and directories.
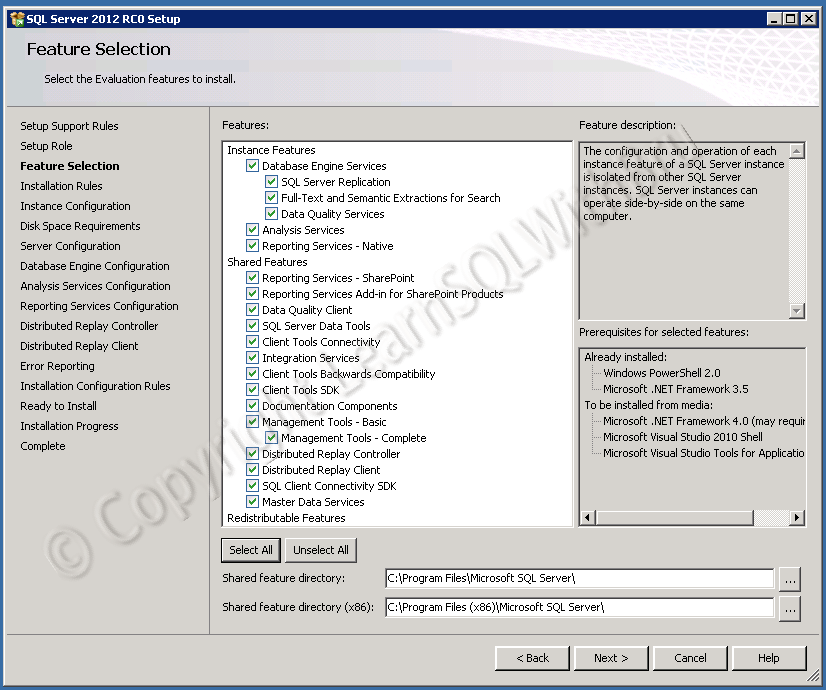
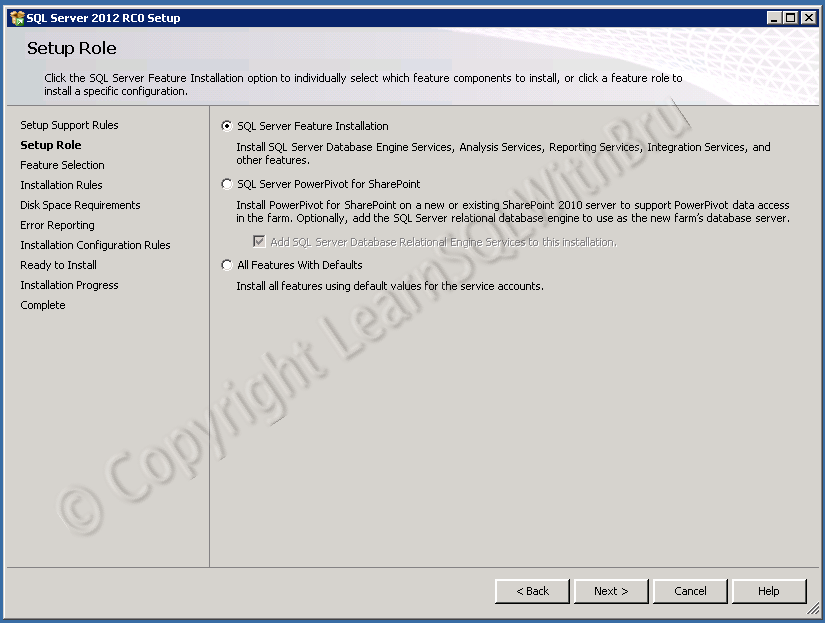 Click Next to continue.. In the next screen, you can choose what features do you want to install on your server. You can choose only what is required and in a work environment, not all features are going to be installed. Since we are setting it for trying all features in the latest release of SQL Server, I selected all features. Click Next…
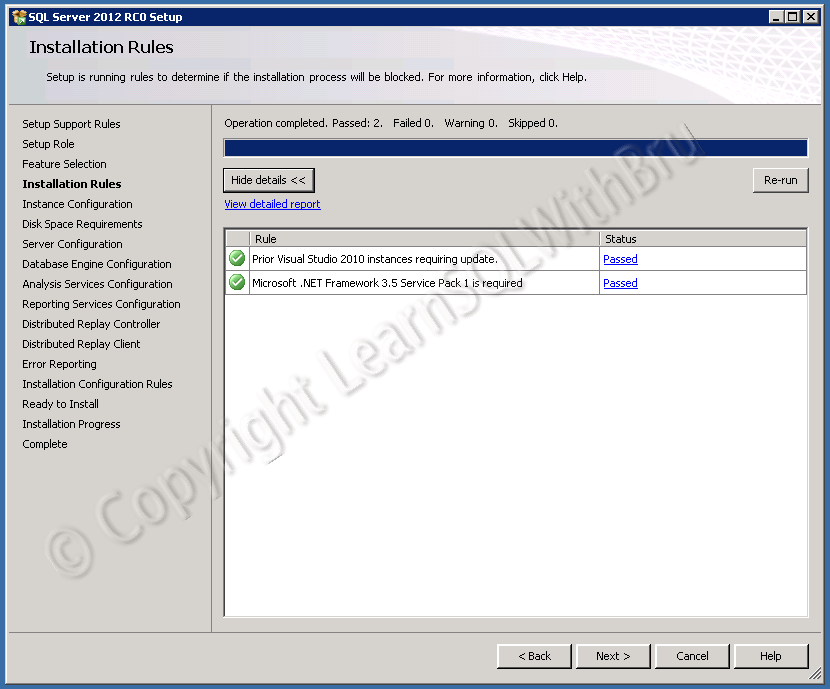
One more round of Installation Rules to ensure that we do not run into trouble while Installing.. Since the 2 check have passed, click Next
Then see the below screen displaying the disk space required for the Installation, this space requirements depend on the components / features we choose. Click Next to proceed…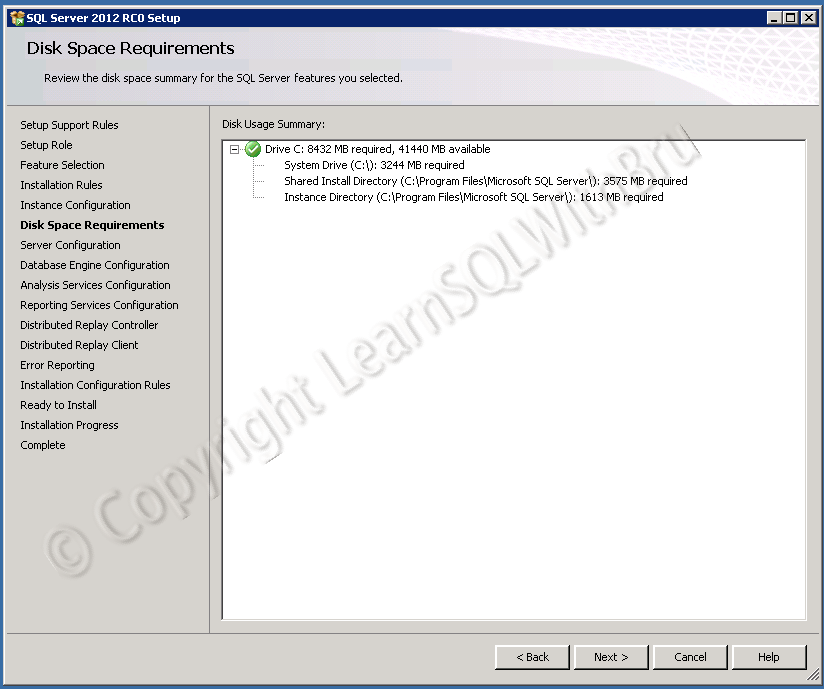

In the next screen, Installation wizard shows us Names of the Service Accounts which will be created and used for each of the SQL Server components and the Startup Type for those components. You can also set the Starup Type according to your choice. (In this case I changed the Startup to Automatic for SQL Server Agent).. Once you are done, click Next..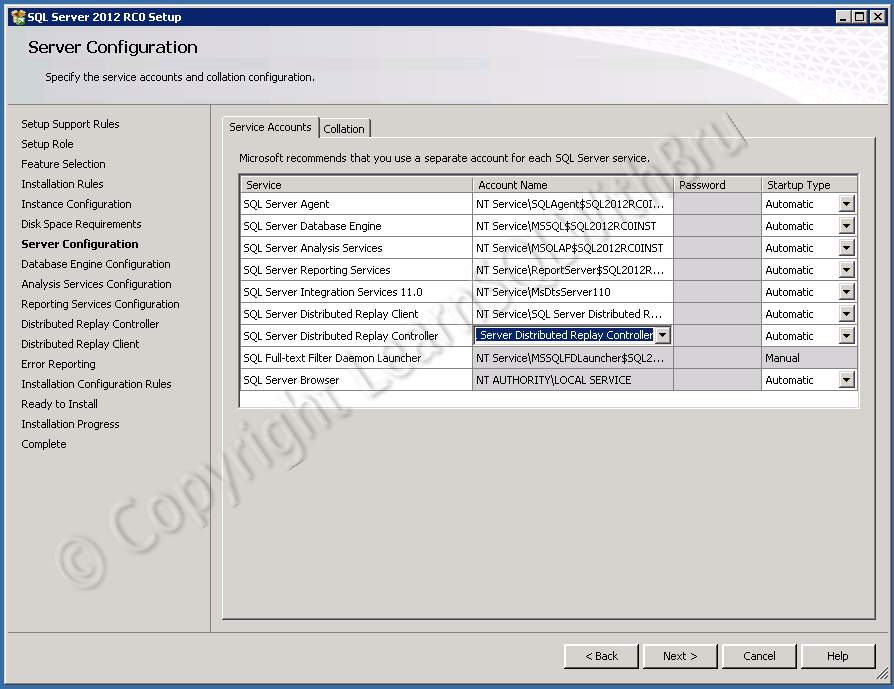

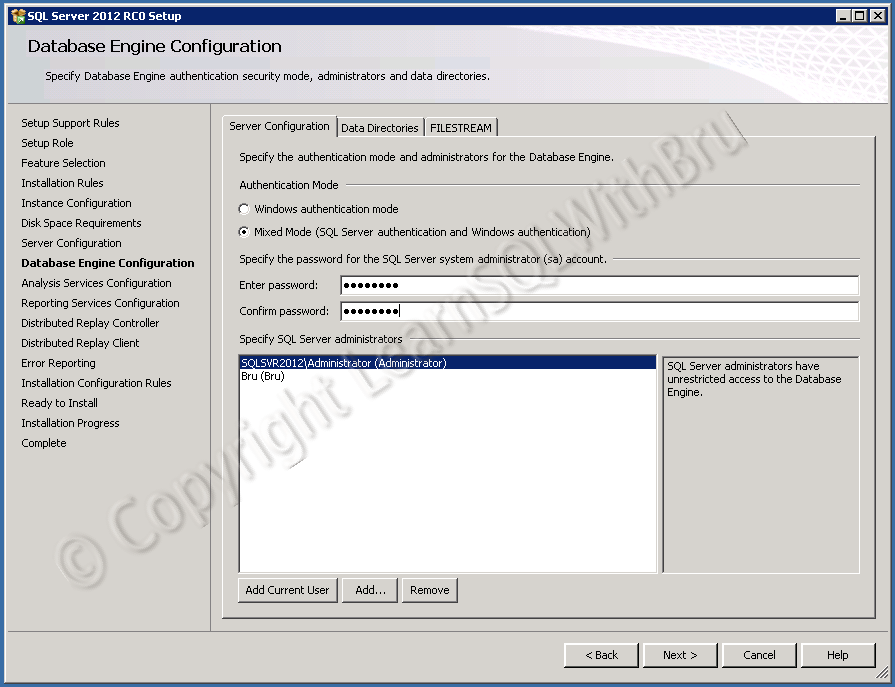
The next few screens will be displaying the configuration for the components, the first being Database Engine (pic below). This is the place where you can set the Authentication Mode of the SQL Server Database Engine. By default it would be Windows authentication mode, If you choose Mixed Mode, you will be asked to enter sa password and additionally you might want to add any other users who would be sysadmins on the SQL Server. You can do both of these at a later time, but I prefer doing it at the time of Installation.
There are multiple tabs in this screen and the below screen is displayed when we choose the Data Directories tab. This tab allows you to choose the Data and Log directories of the User databases, TempDB and the location for your database backups. In this case, I changed the location for User Databases Data and Log directory.

Click Next, to go to the next screen.
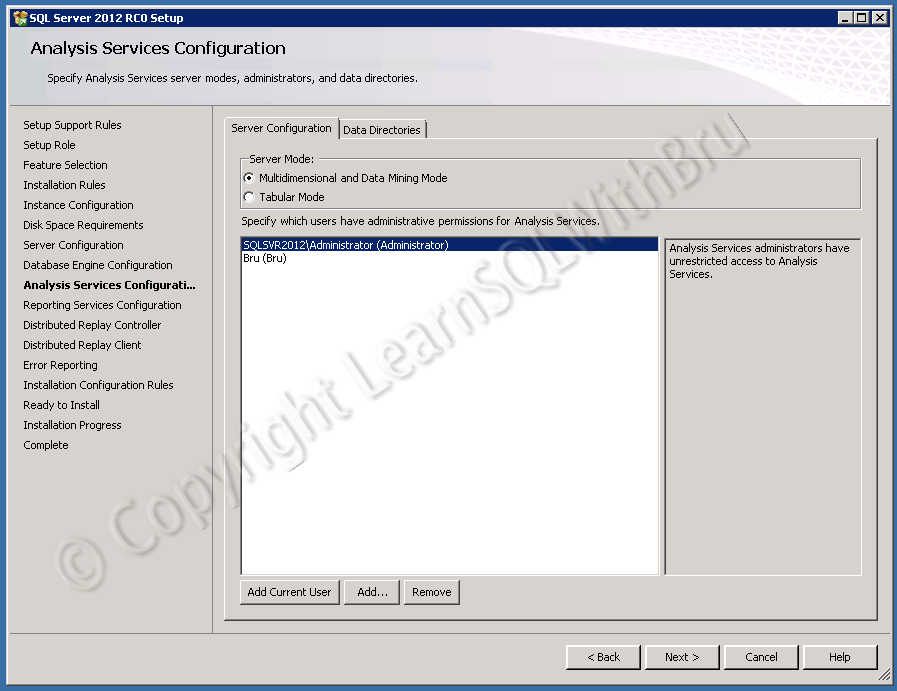
In the next screen (pic below), you can choose the Analysis Services Mode, Admins and the Data Directories for SSAS. Once you have made your selections, click Next
The next screen is for Reporting Services. If you would like the Installation to automatically configure Reporting Services for you, you can choose Install and configure option. I have chosen Install only as I would like to configure manually at a later time. Click Next…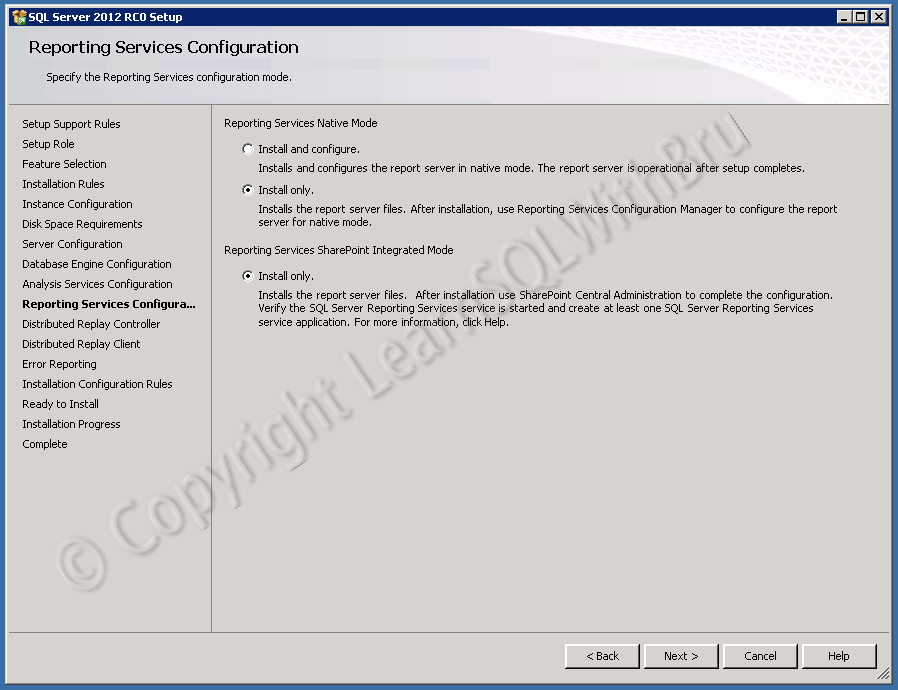

The option in the next screen lets you decide if you would like SQL Server to send Error Reports to Microsoft automatically. It is only optional and varies from user to user.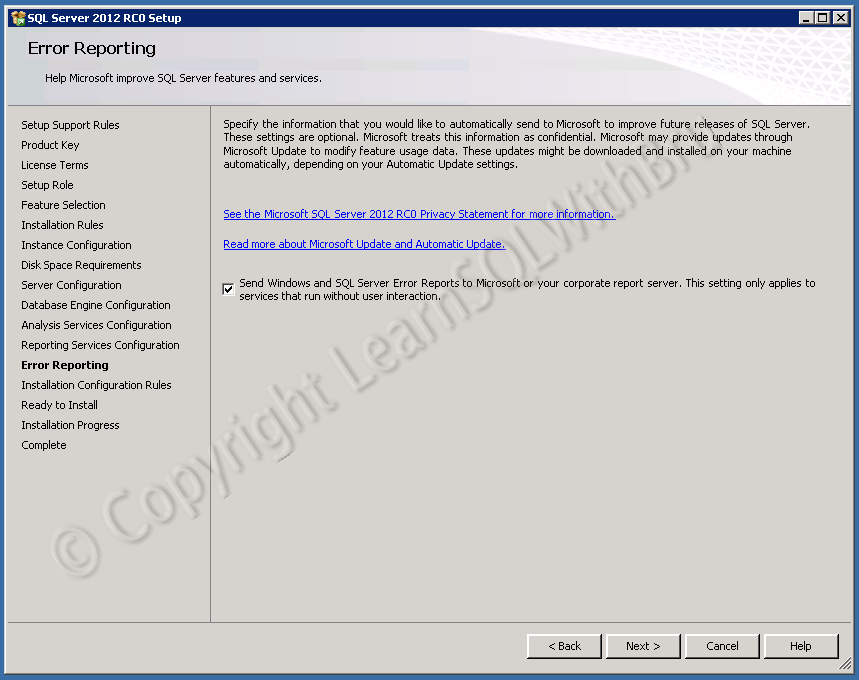

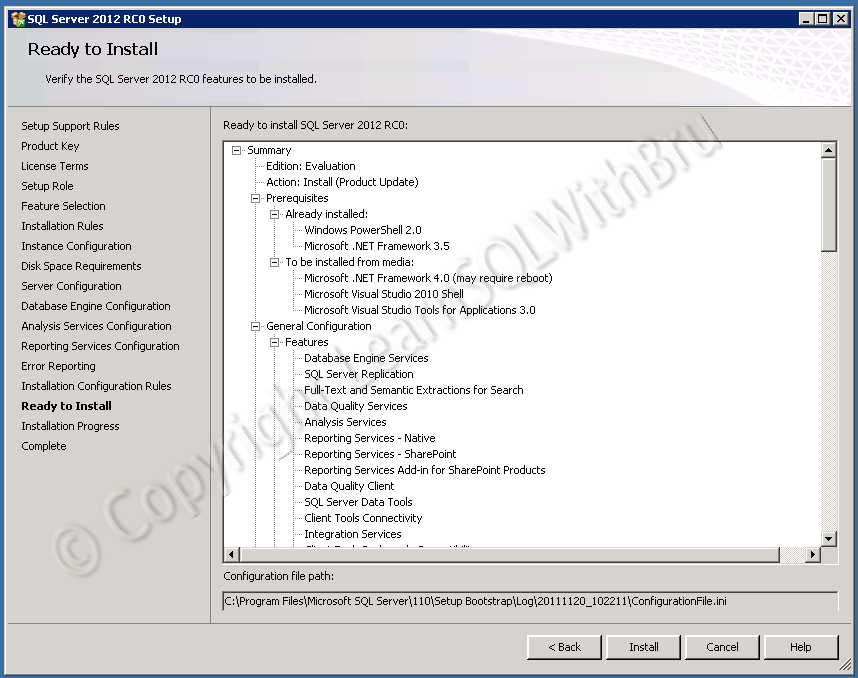
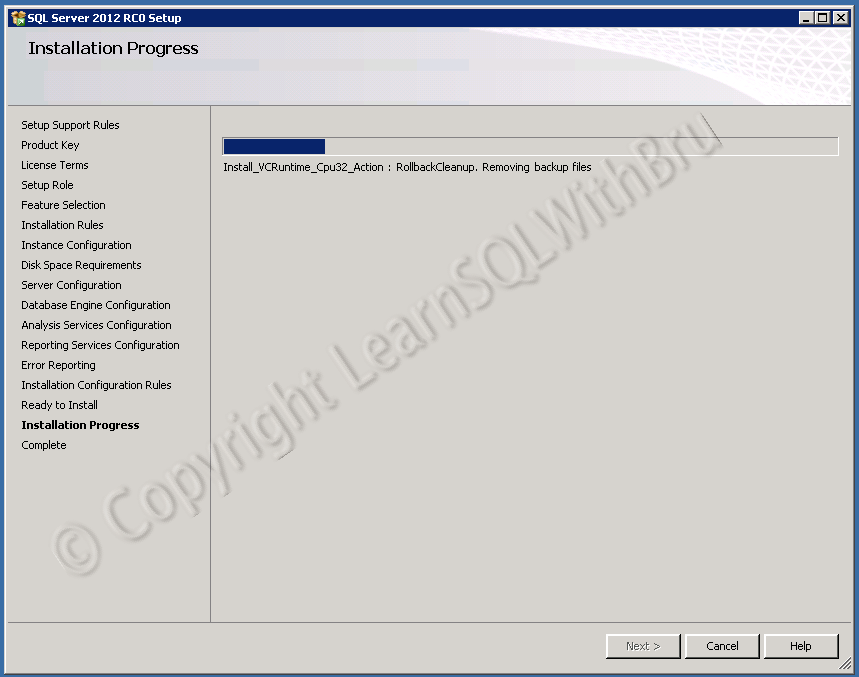
We are all set for Installation, and the next screen is a summary of what we have chosen to Install, what components and chosen, installation location etc.. Click Installfor the Installation to begin..