Search This Blog

Showing posts with label SQL Server Service Packs. Show all posts

Installing SQL Server 2008 Service Pack 3 on Multiple Instances


In one of my previous blogs (read it here), you can find where to download the Service Pack, what are the enhancements to SQL Server and few useful links that would assist you in preparation to applying Service Pack 3 for SQL Server 2008. 
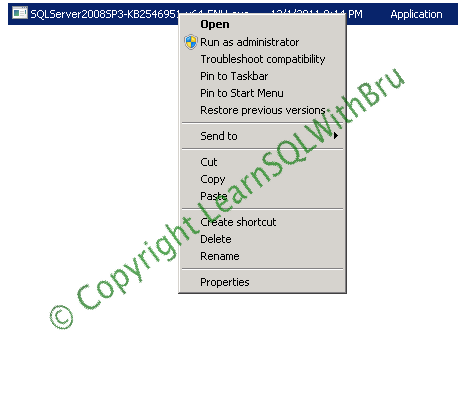
Once you have downloaded the Service Pack 3, copy the .exe file to a local drive and right click on the file and choose Open from the popup menu to begin the installation. (You can alternately double click the file to begin the installation).
The exe file take a min or two (depending on your system) and extracts to a temporary location, once the extraction is completed, the below Welcome screen is displayed and the installer performs few checks and displays the below screen. If there are any failures, ensure that the necessary steps are performed. Click Nextto continue installation.
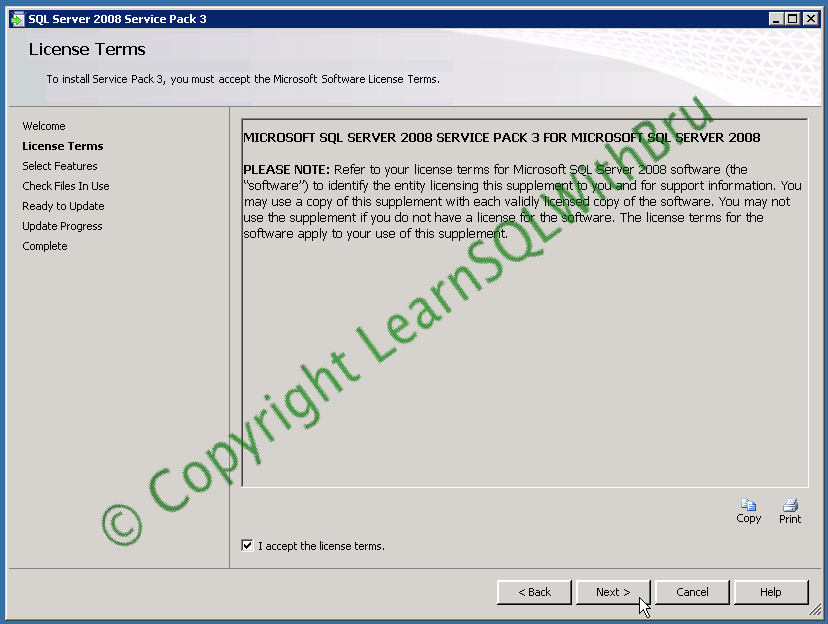
Accept the license terms by selecting the check box and click Next to proceed.
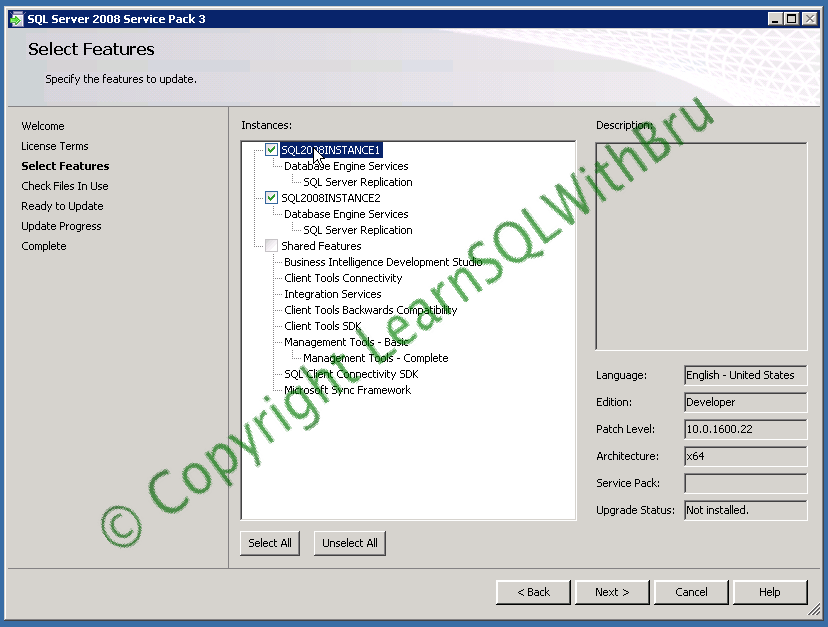
The next step is features selection, where you have to choose the components to which you would like to apply the Service Pack 3. In this blog we are going to apply SP3 for 2 instances at the same time. If you have more than 1 SQL 2008 Instance on the machine, you can choose which instance(s) to apply Service Pack. You can select the check boxes beside each of the Instances or if you wish to Install for all Instances / features click Select All button in the bottom left.
You can click on the Instance to see the current details of that Instance / feature. In the picture below, I clicked on the SQL2008INSTANCE1 and the Edition, Patch Level and other details are displayed..
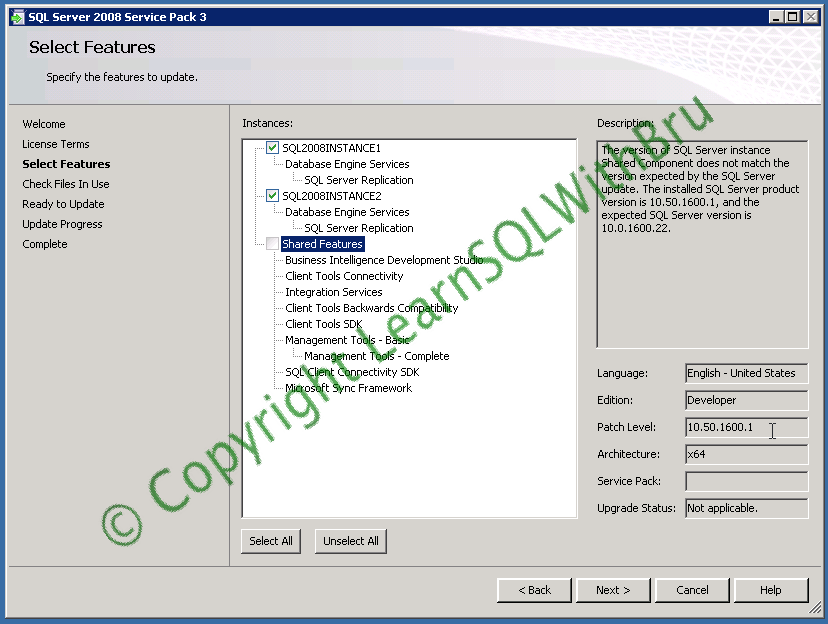
The machine on which we are working in this blog, has a SQL Server 2008 R2 instance installed. Due to this, the Shared Features of SQL Server 2008 are all upgraded when the R2 instance is installed, because of this, we cannot select the Shared Features and apply SP3 to shared features. (see pic below and the description, in the right)
Click Next after you are done selecting the features to be applied with SP3.
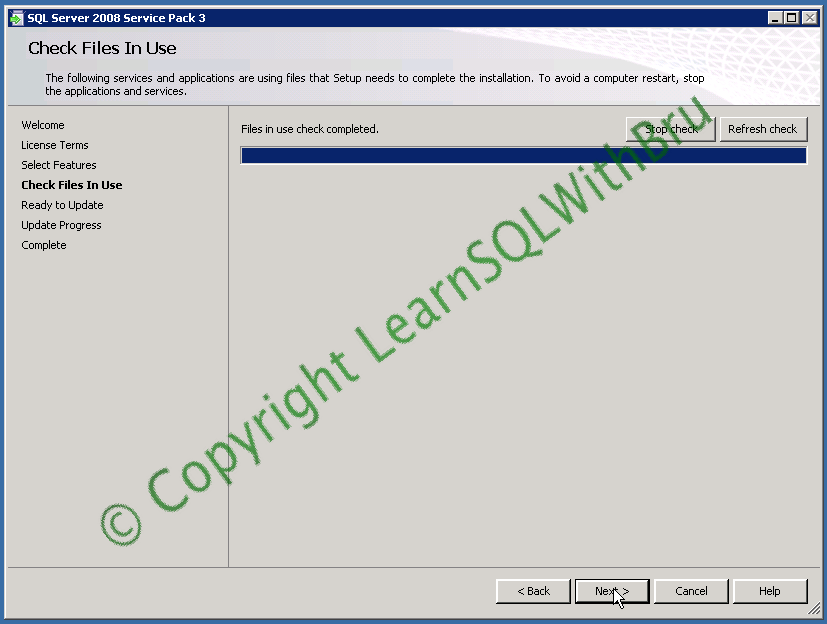
The next step check for the files / services that are being used currently and lists if there are any files that needs to be stopped in order to avoid a restart. 
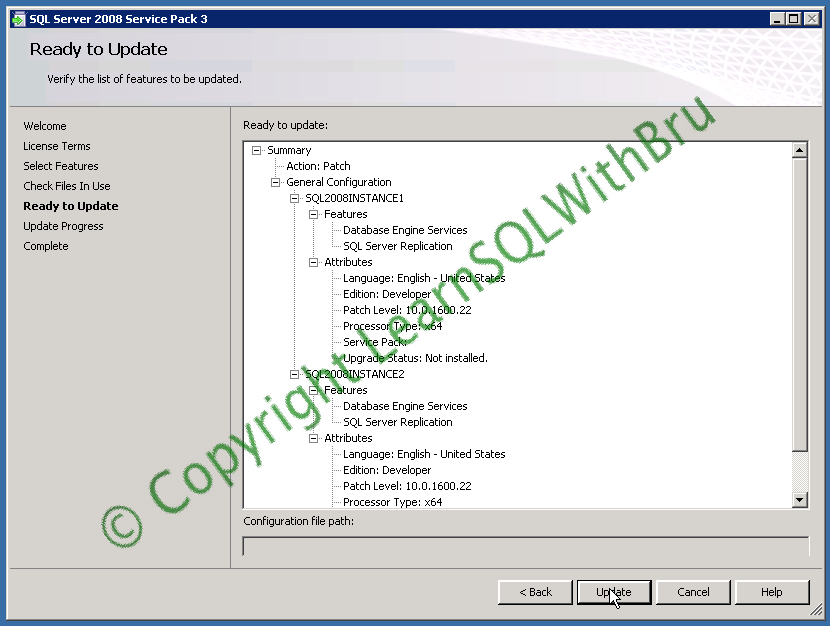
Click Next to proceed. Then the below screen is displayed which shows a summary of features that are going to be updated to Service Pack 3. Click Updateto start the SP 3 installation.
Once the Installation is done, the installation progress is displayed as below.
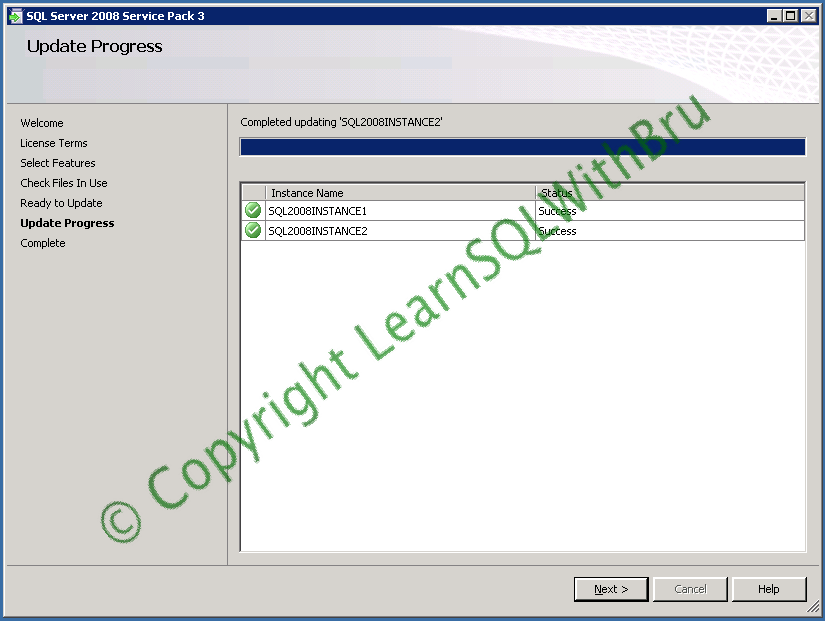
Click Next to proceed.
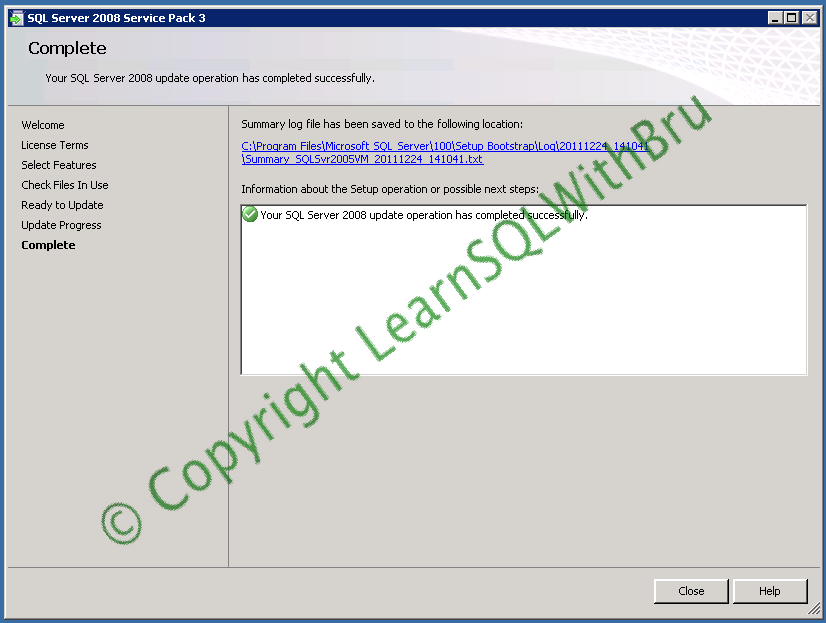
Click Close to close the Service Pack Installer. Restart the machine if possible, else the SQL Instance(s) that have been updated with the Service Pack 3. Once the Instance is restarted, you can run the below command to find the Service Pack level of the SQL Server Instance that you have applied Service Pack..
SELECT @@VERSION,@@SERVICENAME
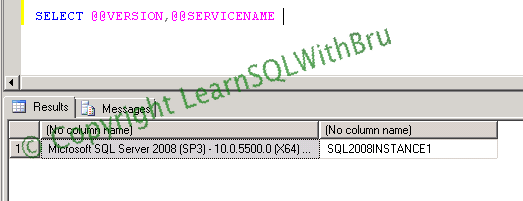
You can see that the result shows (SP3).

Installing SQL Server 2008 R2 Service Pack 1


Once you have downloaded the Service Pack 1, copy the .exe file to a local drive and right click on the file and choose Open from the popup menu to begin the installation. (You can alternately double click the file to begin the installation).
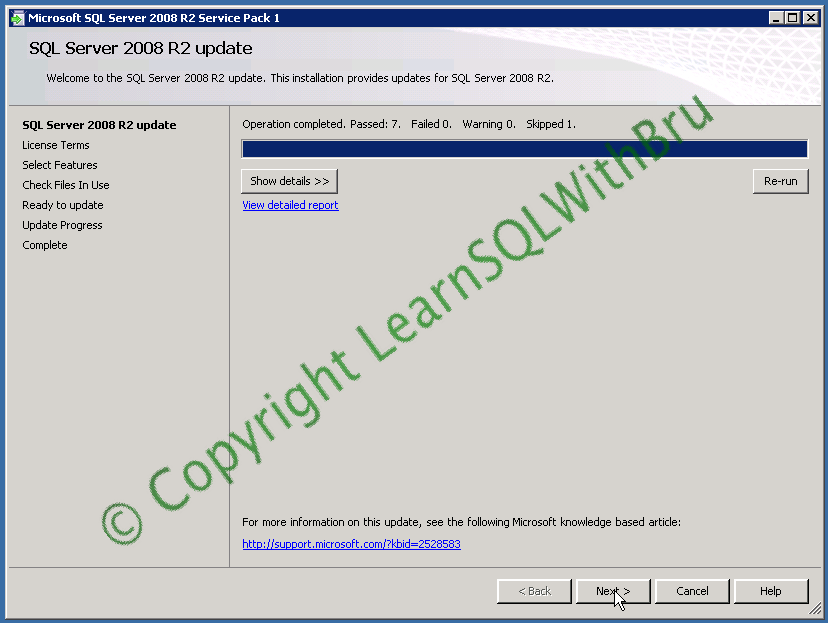
The exe file take a min or two (depending on your system) and extracts to a temporary location, once the extraction is completed, the below screen is displayed and the installer performs few checks and displays the below screen. If there are any failures, ensure that the necessary steps are performed. Click Next to continue installation.
Accept the license terms by selecting the check box. In addition to accepting the license terms, you might chose if you would like Microsoft receive emails about the feature usage on your Instance. Click Next to proceed.
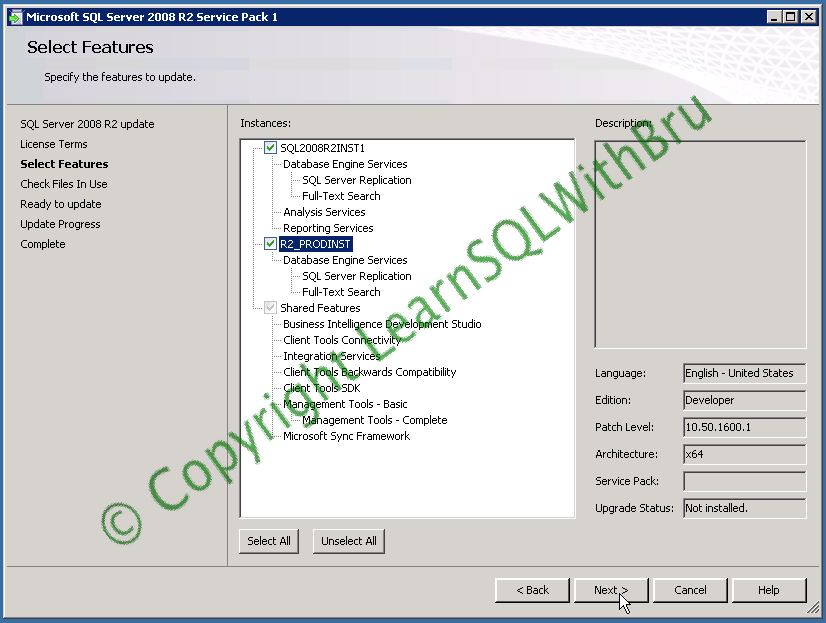
The next step is features selection, where you have to choose the components to which you would like to apply the Service Pack 1. We are going to apply SP1 for 2 instances at the same time. If you have more than 1 SQL 2008 R2 Instances on the machine, you can choose which instance(s) to apply Service Pack. You can select the check boxes beside each of the Instances or if you wish to Install for all Instances / features click Select All button in the bottom left.
You can click on the Instance to see the current details of that Instance / feature. In the picture below, I clicked on the R2_PRODINST and the Edition, Patch Level and other details are displayed..
Click Next after you are done selecting the features to be applied with SP1.
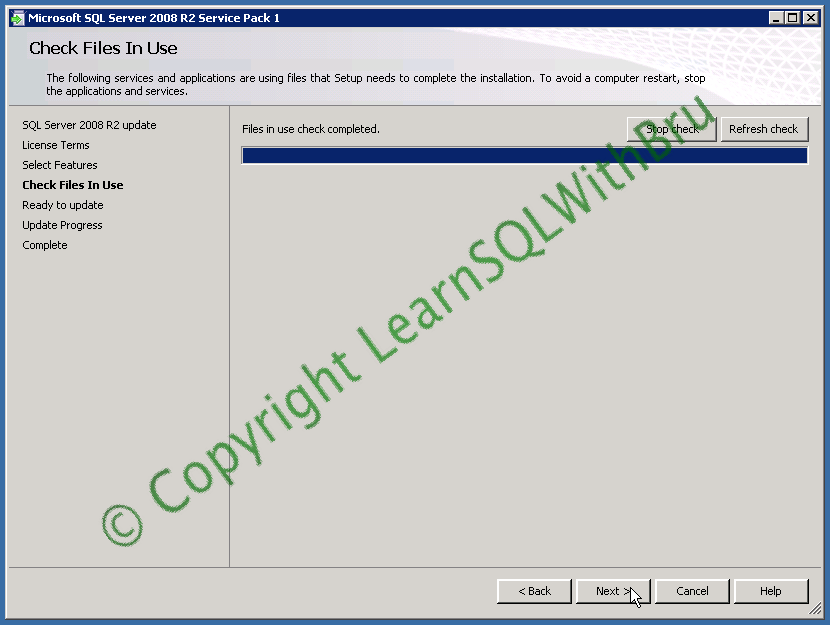
The next step checks for the files / services that are being used currently and lists if there are any files that needs to be stopped in order to avoid a restart. 
Click Next to proceed. Then the below screen is displayed which shows a summary of features that are going to be updated to Service Pack 1. Click Update to start the installation.
Once the Installation is done, the installation progress is displayed showing the list of Instances / features which were updated.Click Next to continue.
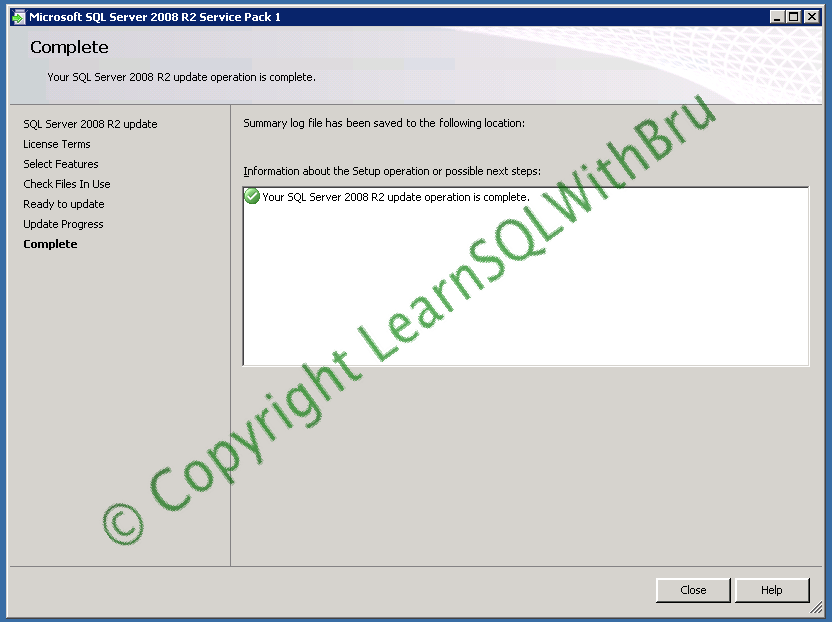
Click Close to close the Service Pack Installer. Restart the machine if possible, else the SQL Instance(s) that have been updated with the Service Pack 1 (in case of multiple instances).

Best Practices for applying SQL Server Service Packs

This blog will make a list of best practices to follow while applying Service Packs or Cumulative Updates on your SQL Server Instance(s).
  1. Before applying Service Packs, read the list of bugs that have been addressed in the Service Pack (usually documentation is provided on the download page itself).
  2. Always apply Service Packs and Updates on Test / Development Instances. Once the Instance with the new Service Pack is up and running without any issues for a week or two, plan the same steps on your Production.
  3. List out all SQL Server Instance(s) on the box (if you have multiple instances) and make sure you are going to apply Service pack for the required instance(s) only.
  4. Broadcast an email to all the users who would be affected by Database Instance, about the system downtime. 
  5. Make a plan for a quick rollback, in case of unforeseen issues.
  6. Send out an email that the maintenance is beginning.
  7. Ensure that no SQL Agent jobs are running, it might be a good plan to disable the SQL Agent in order to avid any jobs starting / running while applying the Service Pack.
  8. Take the full backup for all databases, both User databases and System databases.
  9. Apply the Service Pack, only to that instance that you have planned to (in case of multiple instances on same machine)
  10. Restart the SQL Instance.
  11. Check for all entries in SQL Server Error Log about the Service Pack update and ensure there are no errors written.
  12. Check for the Service Pack level of the SQL Instance.
  13. Send an email that the Service Pack was applied and SQL Server is running smoothly.
Now is the time you monitor your applications and any custom scripts that you wrote, are working properly. As mentioned earlier, after a week or two follow the steps from points # 3 on your target Prod Instance…..